
Tuning and Optimization - Chapter 2
技术概述
Chapter 2
Tuning and Optimization
PathWave Advanced Design System (ADS)
What is Tuning?
Tuning is a way to change the component values and see the impact on circuit performance. This is a manual way of achieving the required performance from a circuit, which works well in certain cases.
What is Optimization?
Optimization is an automated procedure of achieving the desired circuit performance in which PathWave Advance Design System (ADS) can modify the circuit component values in order to meet the specific optimization goals. Care should be taken to select reasonable values while setting the goals. Otherwise, the optimization may not find a solution. Additionally, the optimized component values should be within the practical limits, which is typically decided by designers considering the practical limitations.
Tuning in PathWave ADS
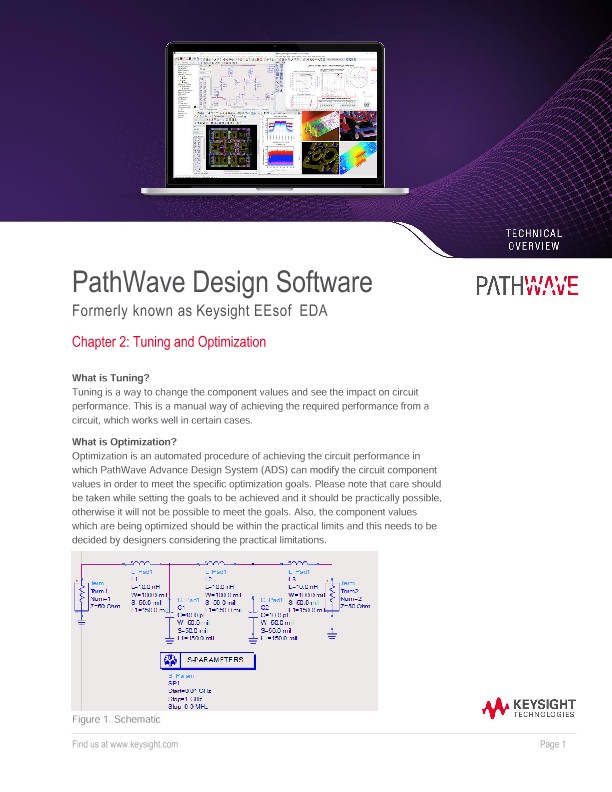
This step introduces the PathWave ADS tuning feature, which allows you to tune parameter values and see the simulation results in real time. To use this feature, first enable tuning and then select the components that will be tuned. For this section, we will use the LPF example from the previous chapter.
- Open the LPF schematic from Chapter 1 (“Getting Stated with PathWave ADS”). Delete or deactivate the Display Template component . Press Simulate .
- In the data display, delete all the plots and insert a new rectangular plot on top right of the palette.
- In the window that opens, select S(1,1) and S(2,1) and click >>Add>>. When prompted, select the units as dB.
- Click OK. Figure 4 shows the resulting data display.
- Return to the schematic window. Start tuning by pressing the Tuning icon . Position the Tune Parameters and the Schematic windows side by side.
- Once the Tune Parameters window is open, select the capacitors and inductors from the schematic window one-by-one. After each selection, a small window will open. This window will allow you to select the Tunable Parameters for the component. In this window, click the box to select the appropriate values (i.e. select C for the capacitors and L for the inductors) and press OK. Change the max values for all components to be 150.
- Open the data display window. In the Tune Parameters window, move the component value slider. The S(1,1) and S(2,1) values will update as you tune the components.
- One the desired results have been achieved, click Update Schematic to update the values on the schematic. If you close the Tune Parameters window without pressing Update Schematic, the values will return to their original values.
- Click Close. Note that the component values in the schematic have been updated to the tuned values.
Optimization in PathWave ADS
1. Go to the PathWave ADS Main Window. Right-click the LPF cell (in this case, DiscreteLPF) and select Copy Cell.
2. The Copy Cell window will open. Name the copied cell DiscreteLPF_Opt. Note that if the cell hierarchal, then we should use the option Include Hierarchy…. If the workspace has folders, then you can copy this into the specific folder by clicking on Choose Folder.
3. Return to the Main Window. The cell has been copied and appears in the list with the new name. Open the schematic. In the parts selector (on the left), select Optim/Stat/DOE. Click on Goal. Click to place the Goal block in the schematic. Use the same process to add a second Goal block to the schematic.
Step 1 - Setting Goals
1. We are going to set two goals. Open the first goal block. Set the following parameters for the goal. When finished, press OK.
Expression: dB(S(1,1))
Analysis: SP1
Limit 1: < -20
2. Open the second goal block. Set the following parameters for the goal. When finished, press OK.
Expression: dB(S(2,1))
Analysis: SP1
Limit 1: > -1 (from 0.01 GHz to 0.2 GHz)
Limit 2: < -30 (from 0.4 GHz to 1.0 GHz)
3. From the Parts palette, insert an Optim block. This is needed to start the optimization.
Step 2 – Setting Controller
1. Double-click the Optimization controller and set parameters as below:
Optimization Type = Gradient
Number of Iterations = 2000
2. Go to the Display tab and select Clear All, which will uncheck all options.
3. Select OptimType and MaxIters. This will clean up the schematic, so that we only see the important information. Click OK.
Step 3 – Define Component Values
1. Go to Simulate > Simulation Variables Setup.
2. Instead of setting the optimization for each component individually, this window allows you to set several tuning or optimization variables at once. Click the Optimization tab. Check the Optimize box for the inductors and capacitors. Set the optimization values to match Figure 14. Press OK.
Step 4 – Optimize
1. Click the Optimize button in the schematic toolbar.
2. The Optimization Cockpit window will open. This window shows the process of the optimization, as well as the current component values as the optimization progresses. The optimization will continue until the goals are met or the maximum number of iterations is reached.
3. Once the optimization stops, click Close. Select Update the Design when prompted.
4. In the data display, add rectangular plots and show S(1,1) and S(2,1). Check the circuit performance against the optimization goals. Add markers from the Marker toolbar to analyze the graphs. The final plot is shown in Figure 16.
5. Save all your work by going to File > Save All from the PathWave ADS Main Window.